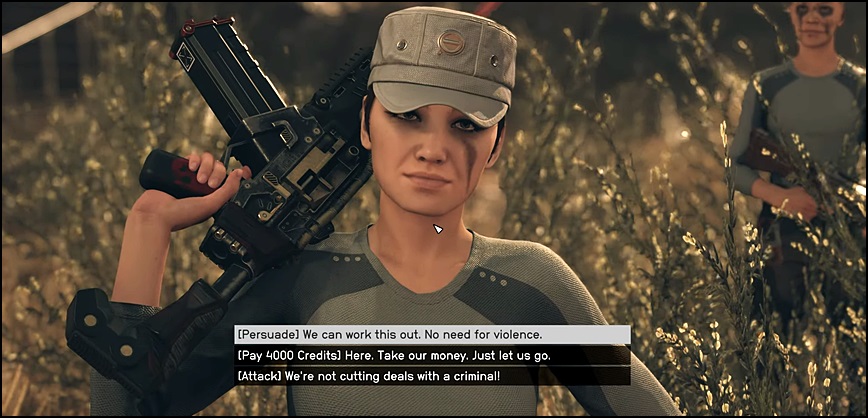
Starfield The Empty Nest Choice Guide – In the expansive universe of Starfield, your choices significantly influence your character’s journey. At the conclusion of the “The Empty Nest” mission, you are thrust into one such multi-faceted situation when the leader of the Shaw Gang herself ambushes you. Shaw presents you with two options: pay her a hefty sum of 4,000 Credits due to the loss you’ve caused her gang or offer your own life as payment. However, as always, there’s a third option – using your silver tongue to persuade her into letting you go. Let’s explore the consequences of each choice:
Table of Contents
What Happens if You Choose to Persuade Shaw in Starfield?
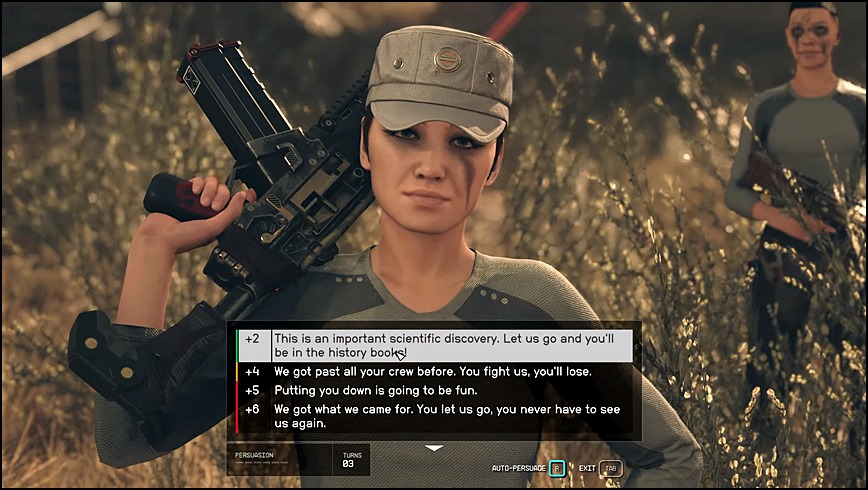
The first dialogue option initiates a chance-based Persuasion minigame to convince Shaw to spare you:
- Convincing the gang leader to change her mind isn’t easy; this time, you must fill six persuasion bars within three turns to successfully negotiate your release.
- If you decide on this route, I highly recommend saving your game before engaging in conversation with Shaw, allowing for retries in case of failure. Also, consider using Persuasion-boosting Aid consumables like Hippolyta to enhance your chances of success.
- If you succeed in the persuasion check, Shaw orders her bodyguards to stand down, allowing you to walk away without paying or engaging in combat.
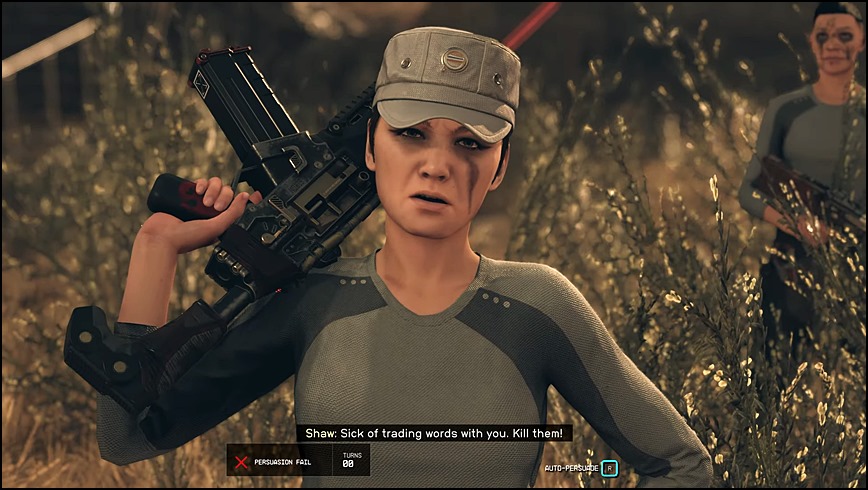
However, failing to fill the persuasion meter within the three allotted attempts results in Shaw running out of patience and ordering her bodyguards to attack you and your partner.
What Happens if You Kill Shaw in Starfield?
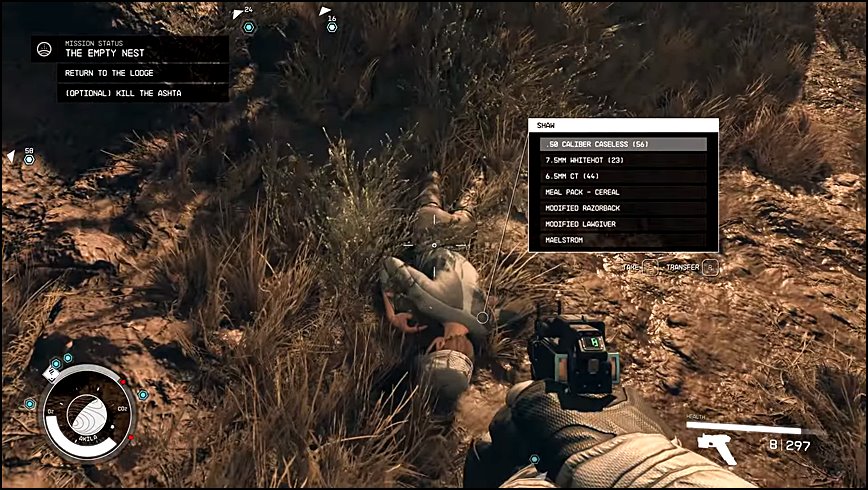
If you prefer the less talkin’, more shootin’ approach, you can refuse Shaw’s demand for payment and select the [Attack] dialogue to engage in a gunfight with her and her gang. While dealing with Shaw and her cronies isn’t overly challenging, be prepared to face the group of Ashta that arrives afterward!
In terms of rewards for this choice, you’ll be able to loot the bodies, including Shaw’s, which may contain valuable items. However, don’t expect to find exceptionally rare weapons. Nevertheless, the loot can be sold for a substantial amount of Credits.
What Happens if You Pay Shaw in Starfield?
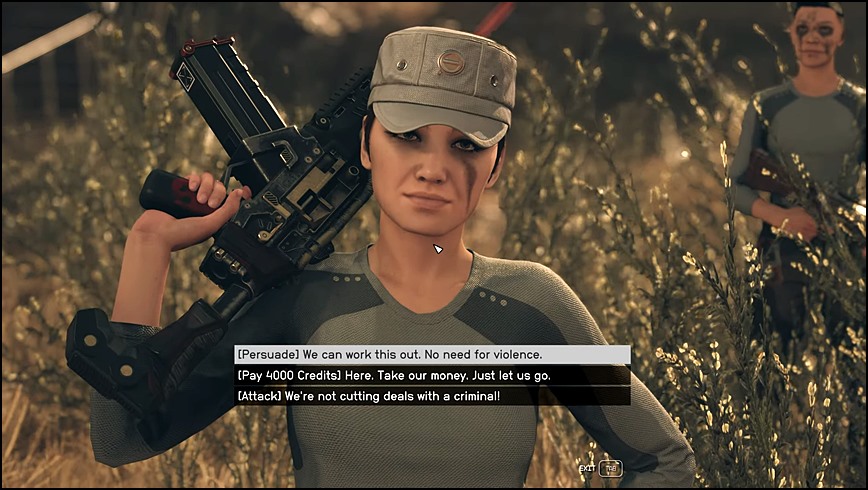
Choosing to comply with Shaw’s demand and paying her the 4,000 Credits will allow you to leave without further confrontation. Although it may seem like a significant loss, it effectively ends the encounter without violence. Shaw instructs you to depart before her mood changes.
Should You Help the Shaw Gang with the Ashta?
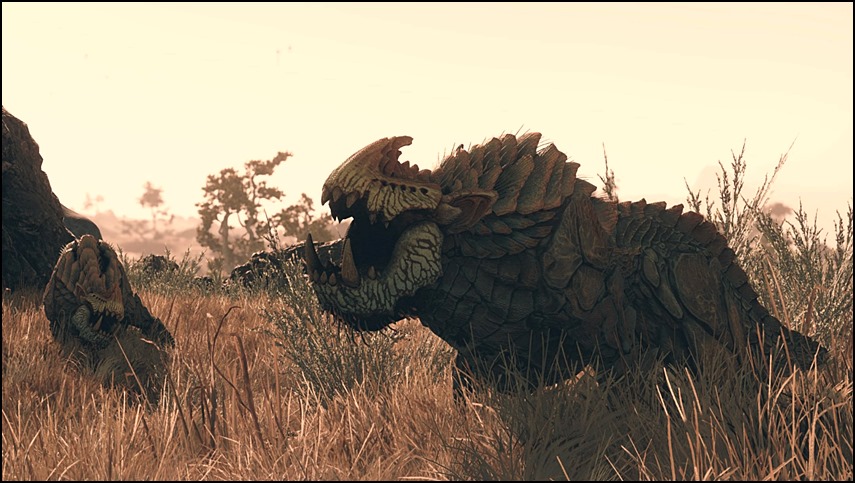
No matter which path you choose with Shaw, a group of Ashta will ambush you shortly after. It’s entirely optional, but I highly recommend that you deal with them – especially if you didn’t choose to kill Shaw!
If you assist Shaw and her bodyguards in eliminating the Ashta, Shaw will express some sincere gratitude and reward you with a special Modified Calibrated Razorback pistol along with some ammunition. You can also loot all the deceased bodies, including the Ashta, for some extra loot!
Click here to check out our latest Starfield guides!
That is everything we have on whether you should persuade, pay, or kill Shaw in “The Empty Nest” mission in Starfield!
If you liked this article and found it helpful, let us know in the comments below. And remember to stay tuned to Gamer Haul for the latest updates and top-notch guides for your favorite games!

