
The Legend of Zelda: Tears of the Kingdom takes the ‘durability’ aspect of weapons and shields to new heights with the ‘Infuse’ power, allowing Link to enhance them by combining them with any object. However, even the most potent weapons and the hardest shields can become dull over time. And that’s where the hidden secret of the game’s new and improved “repair and upgrade” mechanic comes into play.
In this guide, we will walk you through the process of repairing and upgrading your weapons and shields in Zelda: TOTK so that you’re always prepared for the challenges that lie ahead!
How to Repair & Upgrade Your Weapons/Shields in Tears of the Kingdom
To ensure your weapons and shields remain in peak condition, follow these steps to repair and upgrade them with the help of Octoroks:
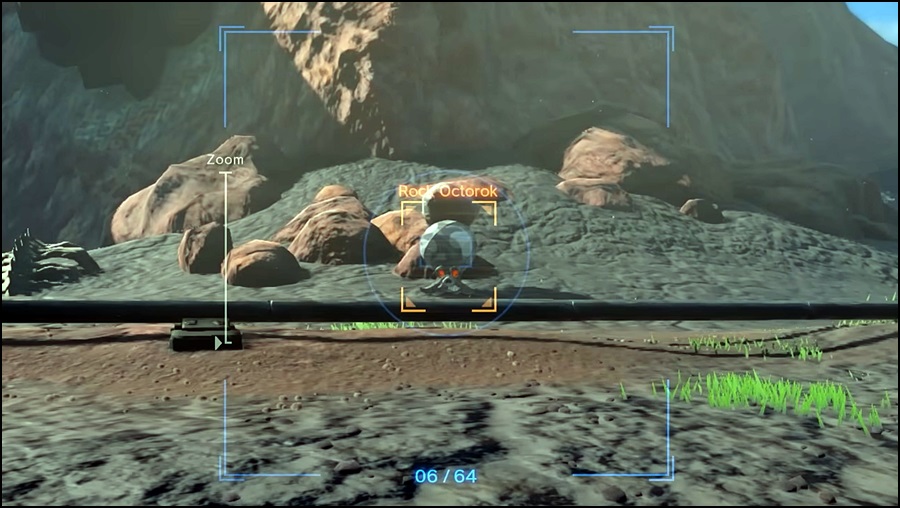
- Find an Octorok: You can repair and upgrade your weapons and shields with the help of Octoroks – a type of enemy scattered throughout the Overworld of Hyrule. As the name hints, they are octopus-like creatures that can shoot rock projectiles from their cylindrical snouts.
- Interact with Octoroks: All you need to do after locating an Octorok is drop your damaged weapon/shield near it. It will suck the item up, and some sparkling effects will appear around it as it starts munching on it – indicating that the repair is underway!
- Repair and Upgrade: After a short moment, the Octorok will spit the item out at you – restoring that weapon’s or shield’s durability and also applying a random boost to it. This boost can range from increased attack power and durability to enhanced critical hit damage. Unfortunately, the specific modifier cannot be chosen and is randomly assigned. But you can always keep rolling the dice by saving the game before dropping your weapon and loading that save file until you get the desired outcome.
- Limits on Repairing: Keep in mind that each Octorok can repair only one item. If you need to fix up another weapon or shield from the same Octorok, you’ll have to wait until the next Blood Moon cycle. Alternatively, you can go hunt for a new one!
Now that you know the value Octoroks can provide you in Zelda: TOTK, keep reading to learn a few tips on effectively locating them whenever needed.
Octoroks Locations in Tears of the Kingdom
Knowing how to locate Octoroks is crucial for repairing and upgrading your equipment. Here are some tips for finding them:
- Overworld Only: As previously mentioned, Octoroks can only be found scattered across the surface (Overworld) of Hyrule. So, don’t go hunting for one in the Sky Islands or the Depths!
- Eldin Region: While you can find them all over the map, there is a greater concentration of Octoroks in the Eldin region, just outside Goron City.
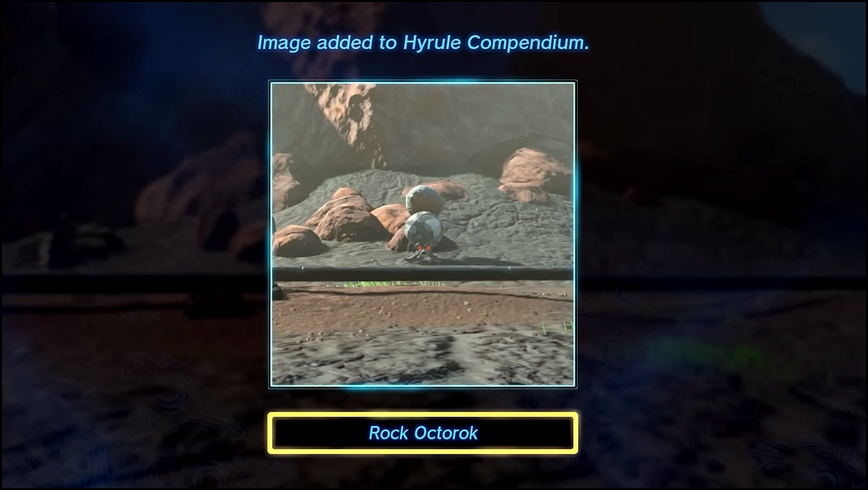
- Make Use of Sensor +: When you come across your first Octorok, be sure to pull out your Camera and take its picture to save it in your Hyrule Compendium. You can then use the ‘Sensor +’ feature to track Octoroks and mark their locations on your map. This way, you can go find one whenever you need to repair or upgrade your weapons or shields.
Here’s a map featuring the locations of 18 Rock Octoroks in the Eldin region (Northeast Hyrule) that you can keep handy for future reference:

Click here to check out our latest Zelda: TOTK guides!
That’s everything we have for you on repairing and upgrading your weapons and shields with Octoroks in The Legend of Zelda: Tears of the Kingdom!
If you liked this article and found it helpful, let us know in the comments below. And don’t forget to keep an eye on Gamer Haul for the latest updates and best guides for your favorite games!